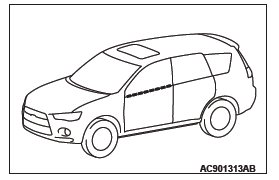
Mitsubishi Outlander: Door Diagnosis
INTRODUCTION TO GLASS AND DOOR DIAGNOSIS
Glass and door faults include water leaks and improper opening and closing. Causes for these faults can include faults in the glass, weatherstrip, drain hole or door installation.
GLASS AND DOOR DIAGNOSTIC TROUBLESHOOTING STRATEGY
Use these steps to plan your diagnostic strategy. If you follow them carefully, you will be sure that you have exhausted most of the possible ways to find a glass and door fault.
1. Gather information from the customer.
2. Verify that the condition described by the customer exists.
3. Find the malfunction by following the Symptom Chart.
4. Verify malfunction is eliminated.
SYMPTOM CHART
SYMPTOM PROCEDURES
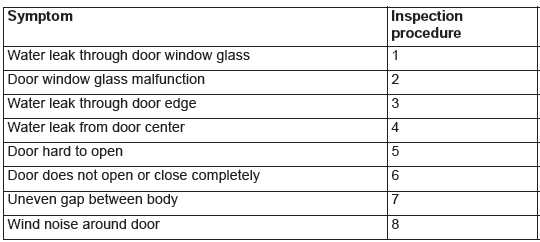
INSPECTION PROCEDURE 1: Water Leak Through Door Window Glass
DIAGNOSIS
STEP 1. Check the window glass runchannel.
Q: Is the window glass runchannel in good condition?
YES : Go to Step 2.
NO : Replace the runchannel, then go to Step 4.
STEP 2. Check the door window glass installation.
Q: Is the door window glass installed correctly?
YES : Go to Step 3.
NO : Reinstall the door window glass. Then go to Step 4.
STEP 3. Check the clearance at the top of the door window glass.
Q: Is the clearance at the top of the door window glass correct?
YES : Go to Step 4.
NO : Adjust the door window glass. Then go to Step 4.
STEP 4. Retest the system.
Q: Is any water leaking?
YES : Return to Step 1.
NO : The procedure is complete.
INSPECTION PROCEDURE 2: Door Window Glass Malfunction
DIAGNOSIS
STEP 1. Check the door window glass installation condition.
Q: Is the door window glass installed correctly?
YES : Go to Step 2.
NO : Reinstall the door window glass. Then go to Step 4.
STEP 2. Check the delta window glass.
Q: Is the delta window glass installed correctly?
YES : Go to Step 3.
NO : Repair or replace delta window glass, then go to Step 4.
STEP 3. Inspect the window regulator assembly.
Q: Is the window regulator assembly installed correctly?
YES : Go to Step 4.
NO : Repair or replace the window regulator assembly, then go to Step 4.
STEP 4. Retest the system.
Q: Does the door window operate correctly?
YES : The procedure is complete.
NO : Return to Step 1.
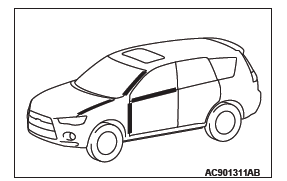
INSPECTION PROCEDURE 3: Water Leak Through Door Edge
DIAGNOSIS
STEP 1. Check the door opening weatherstrips.
Q: Is the door opening weatherstrips in good condition?
YES : Go to Step 2.
NO : Replace the door opening weatherstrips, then go to Step 3.
STEP 2. Check the door fit (alignment).
Q: Is the door fit (alignment) correct?
YES : Go to Step 3.
NO : Adjust the door fit.
Then go to Step 3.
STEP 3. Retest the system.
Q: Is any water leaking?
YES : Return to Step 1.
NO : The procedure is complete.
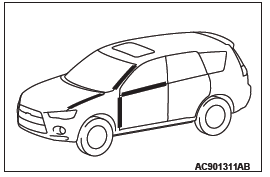
INSPECTION PROCEDURE 4: Water Leak from Door Center
DIAGNOSIS
STEP 1. Check the drain hole.
Q: Is the drain hole clogged?
YES : Clean the drain hole, then go to Step 3.
NO : Go to Step 2.
STEP 2. Check the door opening weatherstrips.
Q: Is the door opening weatherstrips in good condition?
YES : Go to Step 3.
NO : Repair or replace the door opening weatherstrips, then go to Step 3.
STEP 3. Retest the system.
Q: Is any water leaking?
YES : Return to Step 1.
NO : The procedure is complete.
INSPECTION PROCEDURE 5: Door Hard to Open
DIAGNOSIS
STEP 1. Adjust the latch and striker engagement.
Q: Is the latch and striker engagement correct?
YES : Go to Step 2.
NO : Adjust the latch and striker. Then go to Step 4.
STEP 2. Check for lock cable and lock rod damage.
Q: Are the lock cable and the lock rod damaged?
YES : Repair or replace the lock cable and the lock rod, then go to Step 4.
NO : Go to Step 3.
STEP 3. Check the door handle flexibility (amount of the door handle movement required to open a door).
Q: Is the door handle flexibility good?
YES : Go to Step 4.
NO : Check the door outside handle and inside handle. Then go to Step 4.
STEP 4. Retest the system.
Q: Does the door open normally?
YES : The procedure is complete.
NO : Return to Step 1.
INSPECTION PROCEDURE 6: Door does not Open or Close Completely
DIAGNOSIS
STEP 1. Check the door hinge position.
Q: Is the door hinge correct?
YES : Go to Step 2.
NO : Adjust the door hinge.
Then go to Step 4.
STEP 2. Check the door for damage.
Q: Is the door in good condition?
YES : Go to Step 3.
NO : Repair or replace the door, then go to Step 4.
STEP 3. Check lubrication.
Q: Are the door check and door hinge sufficiently lubricated?
YES : Go to Step 4.
NO : Apply grease, then go to Step 4.
STEP 4. Retest the system.
Q: Does the door open and close normally?
YES : The procedure is complete.
NO : Return to Step 1.
INSPECTION PROCEDURE 7: Uneven Gap Between Body
DIAGNOSIS
Adjust the door fit. Then check that the gap has been improved.
INSPECTION PROCEDURE 8: Wind Noise Around Door
DIAGNOSIS
STEP 1. Check the door opening weatherstrips for holding condition.
Q: Are the door opening weatherstrips holding firmly?
YES : Go to Step 2.
NO : Adjust fit of door. Then go to Step 5.
STEP 2. Check the door opening weatherstrips for installation condition.
Q: Are the door opening weatherstrips installed correctly?
YES : Go to Step 3.
NO : Repair or replace the door opening weatherstrips. Then go to Step 5.
STEP 3. Check the clearance.
Q: Are the door glass and the door opening weatherstrips holder assembled correctly?
YES : Go to Step 4.
NO : Adjust the door glass and the door opening weatherstrips. Then go to Step 5.
STEP 4. Check the door movement.
Q: Is the door deformed?
YES : Repair or replace the door. Then go to Step 5.
NO : Go to Step 5.
STEP 5. Retest the door condition.
Q: Has the wind noise been improved?
YES : Return to Step 1.
NO : The procedure is complete.
HOW TO LOCATE WIND NOISE
1. Attach cloth tape to every place, such as panel seams, projections, molding seams, glass and body seams, etc.
which might conceivably be the source of wind noise.
2. Then make a road test to check that the places not covered by tape are not sources of wind noise.
3. Remove the strips of tape one by one, making a road test after each is removed, until a wind noise source is discovered.
4. When such a place is found, cover it again and repeat the procedure to check if there are any other noise source.
5. If no others are found, the last remaining tape is the only source.
6. Cut the remaining piece of tape into smaller pieces, attach it again as it was before, and then remove the pieces one by one to narrow down the source.
7. Check that wind noise occurs when the last remaining tape is removed, and that noise does not occur when it is re-attached.
8. When the source(s) of the wind noise is finally located, attach butyl tape, body sealer or similar material to obstruct this source as much as possible.

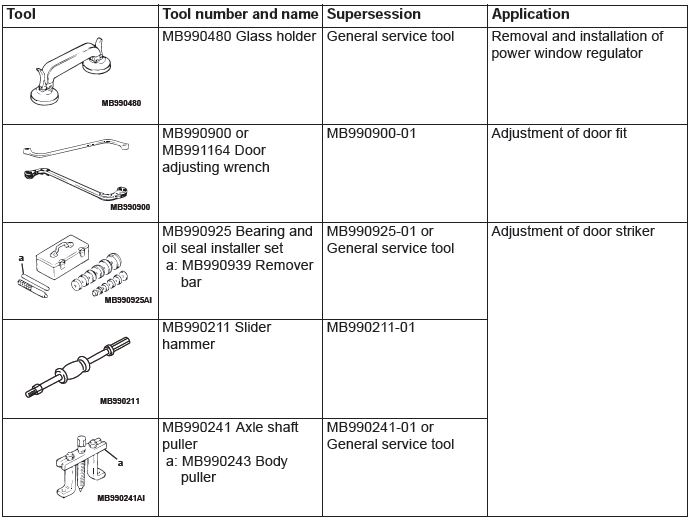
SPECIAL TOOLS
READ NEXT:
 On-vehicle Service
DOOR FIT ADJUSTMENT
Required Special Tools:
MB990211: Slide Hammer
MB990243: Body Puller
MB990900 or MB991164: Door Adjusting Wrench
MB990939: Brass Bar
CAUTION
Do not rotate special tool MB9
Door Assembly, Door Glass and Regulator, Door Handle and Latch
Door Assembly
REMOVAL AND INSTALLATION
Post-installation operation
Door adjustment
<Front door>
Damper removal
Damper
Door assembly and front door
hinge removal steps
Front scuff plate,
Window Glass Runchannel and Door Opening Weatherstrip
REMOVAL AND INSTALLATION
<Front door>
Waterproof film removal steps
Pull handle bracket
Waterproof film
Door window glass runchannel
removal steps
Door window glass runchannel
Door bel
SEE MORE:
Ventilators
1- Centre ventilators.
2- Side ventilators.
Air flow and direction adjustments
Centre ventilators
Move the knob (A) to adjust the air flow direction.
To close the ventilator, fully move the knob (A) to the inner side.
1- Close.
2- Open.
Side ventilators
Move the knob (A) to adjust the a
Front Axle
General Information
For the front axle, the unit ball bearing (double-row
angular contact ball bearing) with an integral oil seal
is used as a wheel bearing, and EBJ-PTJ type constant
velocity joint as a driveshaft.
It has the following features:
The driveshaft incorporates EBJ-PTJ type constant
